Getting Started with ChromeOS Containers via Project Crostini
ChromeOS has been criticized as a limited operating system in the past by many tech reviewers however things are about to change with the introduction of ChromeOS Containers. This is due to something known as “Project Crostini”. If you are a Pixelbook owner who does not mind getting their hands a bit dirty in the command line, you can try this now and unlock the full potential of your Pixelbook.
Archived — this post is kept for reference and may be out of date.
Prerequisites
In order to access the necessary commands, you will need to perform the following actions. As a reminder, this will currently only work on the Pixelbook. You DO NOT need to have developer mode enabled to setup virtual machines.
Enable The Developer Channel
As of this writing, you will need to be running ChromeOS R67 or higher. This is currently only active in the “Developer Channel”. I need to add a warning that the Developer Channel will make your Chromebook get more frequent updates and there may be bugs. It is possible to go back to “Stable” however this will require a factory reset.
- Go into your ChromeOS Settings
- Select “About Chrome OS”
- Select “Detailed Build Information”
- Select “Change Channel”
- Select “Beta”
Your Chromebook will check for updates and download the latest build on the developer channel. You will be prompted to reboot when complete.
Enable Containers
After you reboot, you will have several new flags in your Chrome OS Flags Settings, This next set of steps will enable container support.
- Enter “chrome://flags/#enable-cros-container” in your Chrome address bar and enable the “Chrome OS Container” flag
- Reboot your Chromebook
Introduction to vmc
ChromeOS containers are controlled via the “vmc” command which can be launched from the ChromeOS Terminal (CTRL + ALT + T). These are the possible options
vmc start
vmc list – This command will list all containers that are on your Chromebook.
vmc stop
vmc destroy
Setting Up a Debian VM In A Container
Now that I have introduced the vmc command, lets put this in action by spinning up a Debian VM and installing some software on it.
Access a ChromeOS Shell (Ctrl + Alt + T) Create a container by running
Provision Debian by running (replace
Upgrade the Debian Install by running
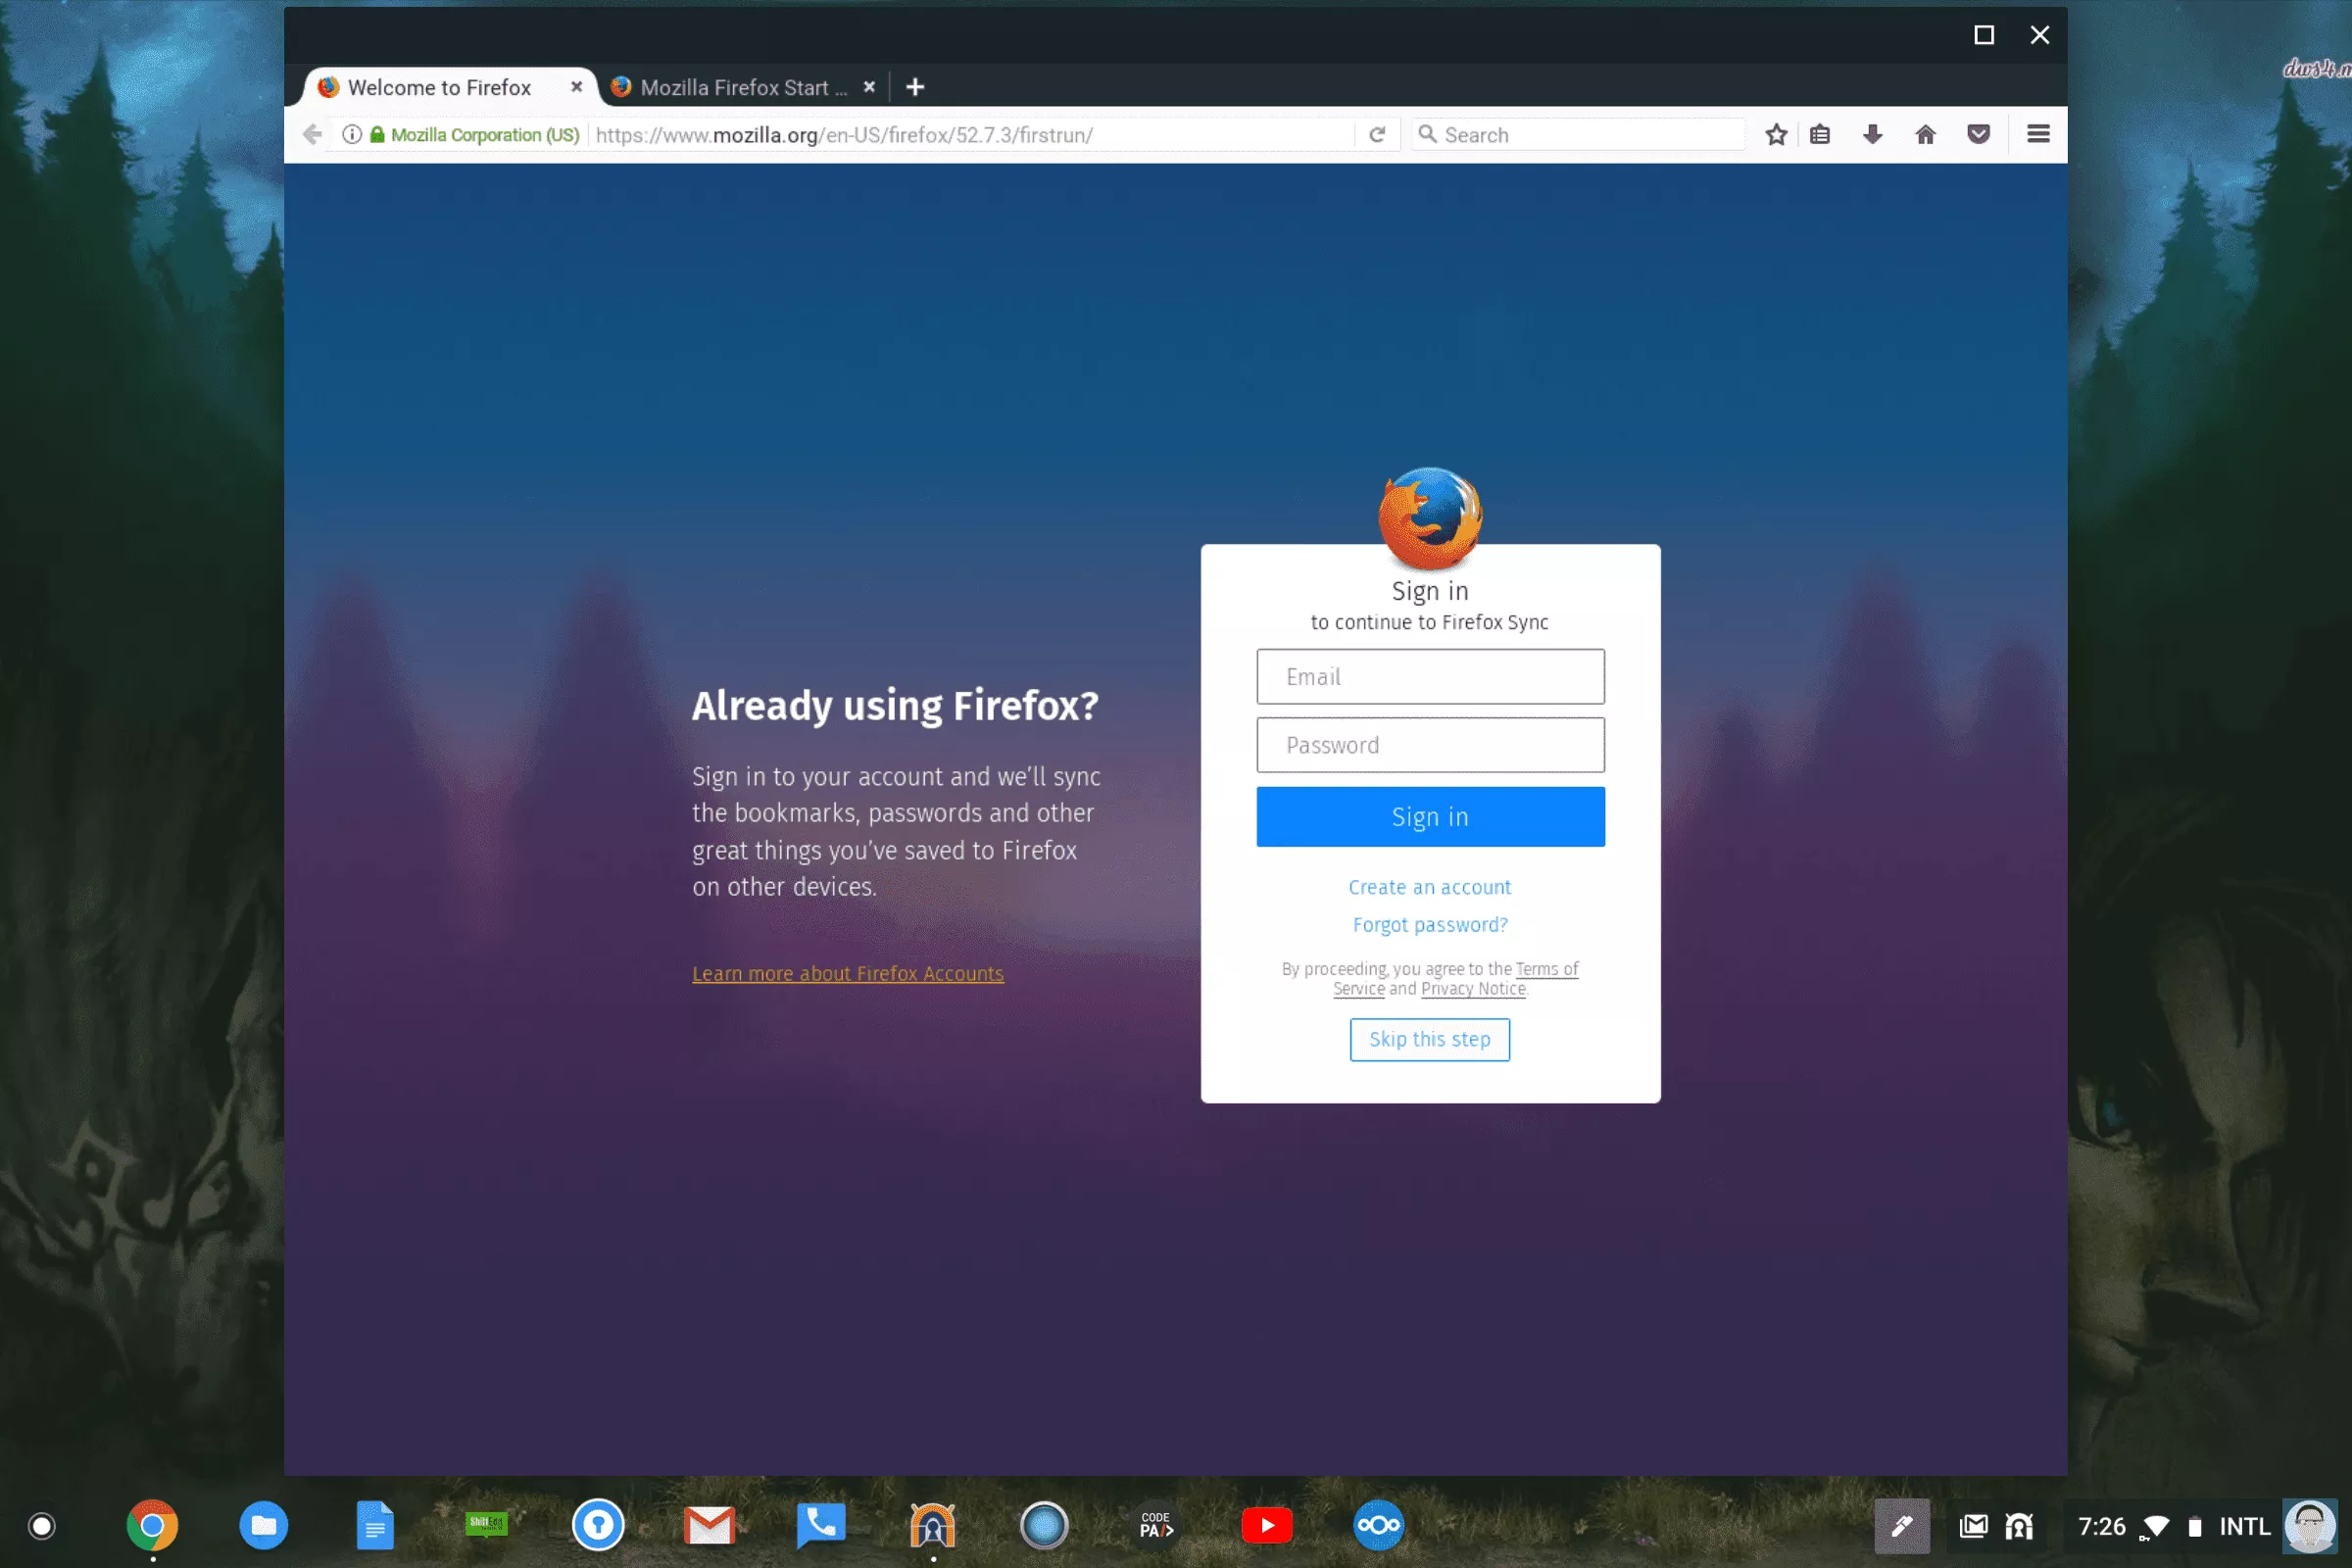
Install Something with apt – In this example, we will be installing the desktop version of the Mozilla Firefox browser but the possibilities are limitless
Launch Firefox by running “firefox”
That’s it – You should now have Firefox running. You can install just about any debian package via apt.
If you want to re-enter your container after rebooting or closing your browser window, you just need to run the following two commands to get back to the shell from within the ChromeOS Terminal (Alt + Ctrl + T) – Remember to replace “
Limitations
- It does not appear that containers route traffic over Android VPNs. I have reported this to the ChromeOS Team as a bug –https://bugs.chromium.org/p/chromium/issues/detail?id=834585
- No Shared Clipboard between desktop applications and ChromeOS
- This will only work on the Pixelbook at this time